| Open up the stack you created in the last
lesson. You called it nameTemple.stk and saved it in your workspace/My
Documents folder |
|
| 
|
Peel the Tool Bar off and select the Square shape tool .
Make sure it is clear and not full of colour. To make it clear double
click on the square until it looks like our example. |
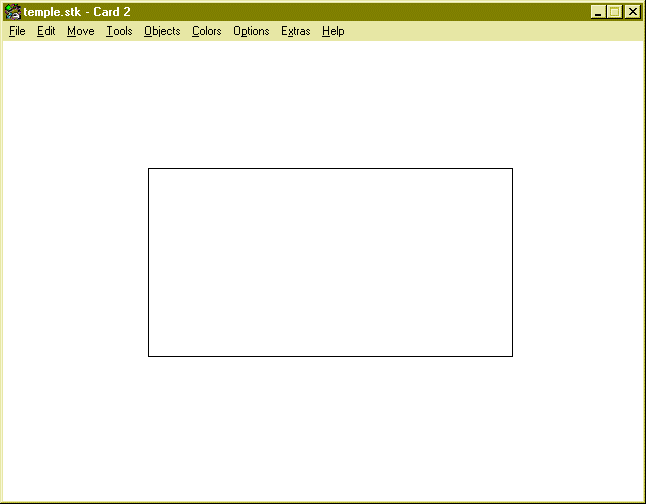 |
Draw a rectangle in the Centre of the card |
| 
|
select the straight line tool on the Tool Bar |
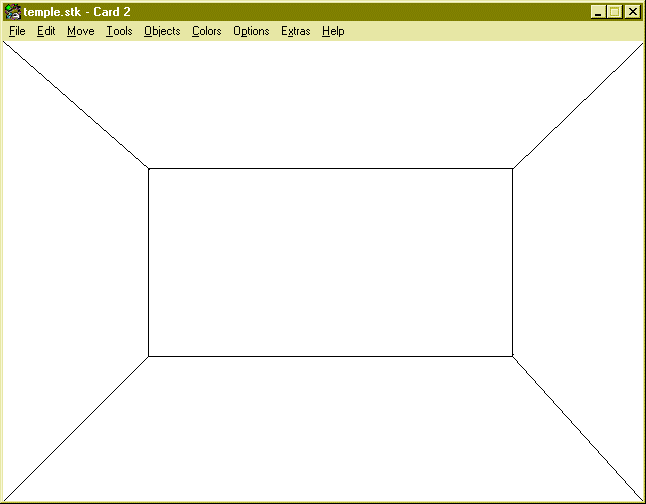 |
Draw straight lines from the corners of the rectangle to the
corners of the page .
Make sure there are no gaps as this will effect later colour/pattern
filling.
We will use this card as a template and create 2 other cards just the
same. |
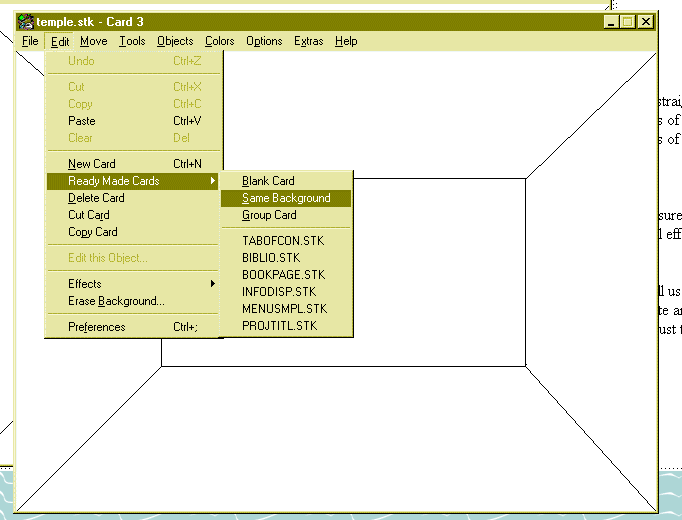 |
To create a Template select Edit -
Ready Made Cards
Same. Do this again so that you have three cards in total with
the same back ground.
To move between each of the cards Press Crtl > or Crtl< , on your
keyboard.
Now make sure you are on Card 2 before continuing |
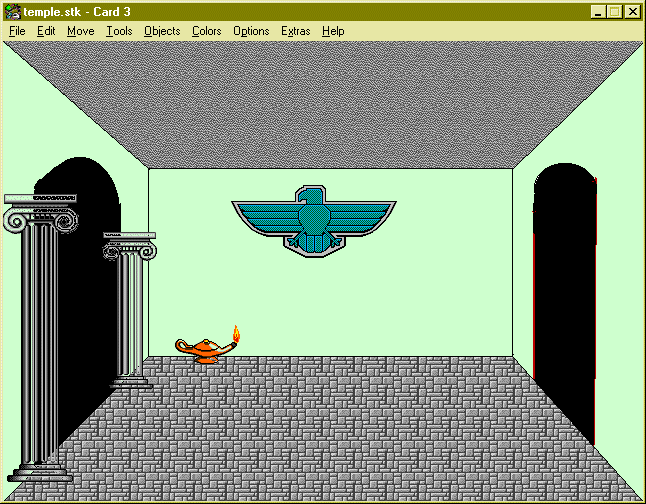 |
Now the easy part colour in your room using either patterns
or colours. Add Graphic Objects ( look under Objects Menu)
Draw some doors. Do this for each of the three rooms , make them
all distinct but with doors to each room |
| 
|
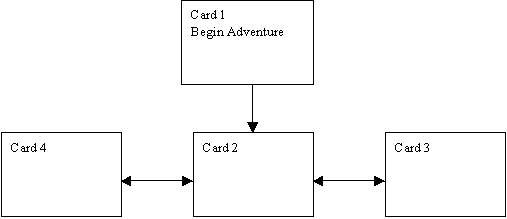
This is the structure we will create. We already have
a link from card 1 to card 2 , we now need a link from Card 2 to Card 3
and from Card 2 to Card 4.
We will do this with Invisible buttons |
| 
|
In the Menu bar select Objects - Add a Button
this time change the selections to the example on the left.
Press OK |
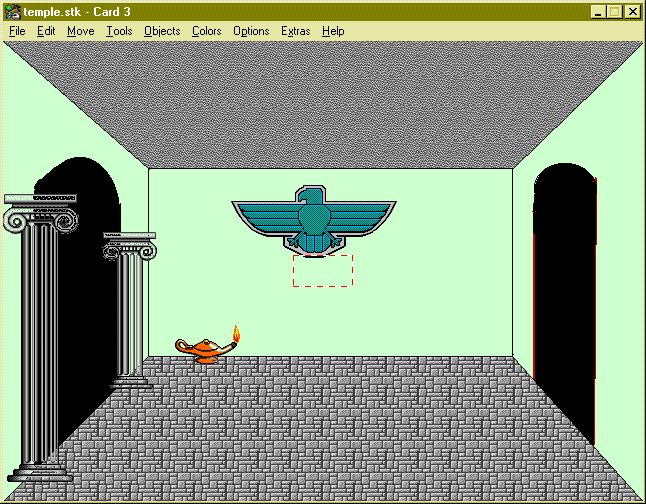 |
See the Marching Ants in a rectangle . This is your
invisible button . You can change its size by grabbing its edges and
its position by dragging it . Bring it over the doorway and then click
away from it to bring up the button dialogue box |
| 
|
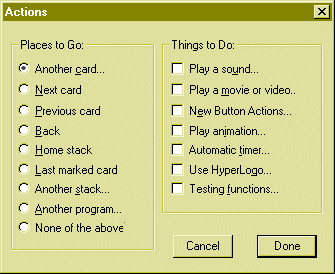
Select Another card |
| 
|
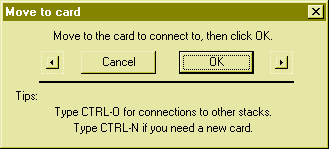
Move to the next room |
| 
|
Use this transition |
| 
|
Now test out the invisible button , by selecting the hand
cursor as at left.
Now repeat this process for each of the doors you want active or
working.
|


